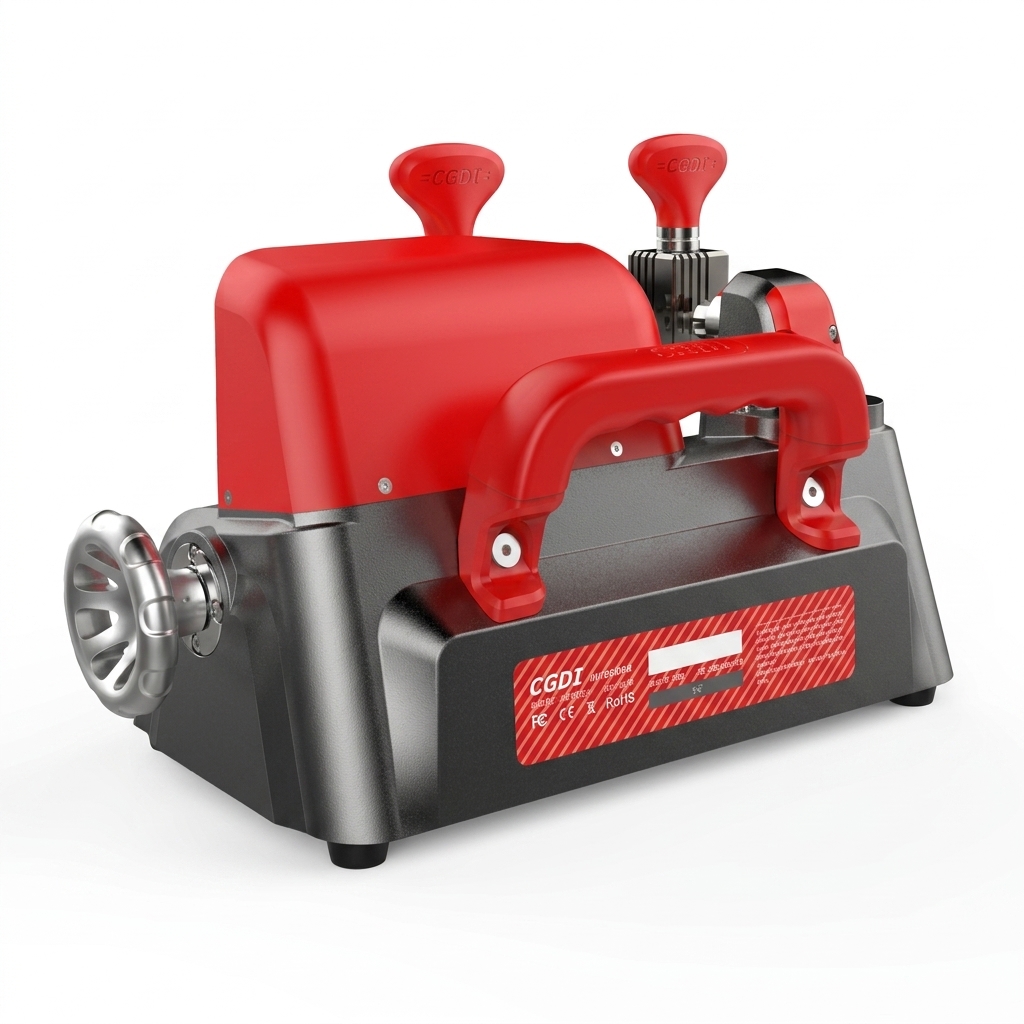
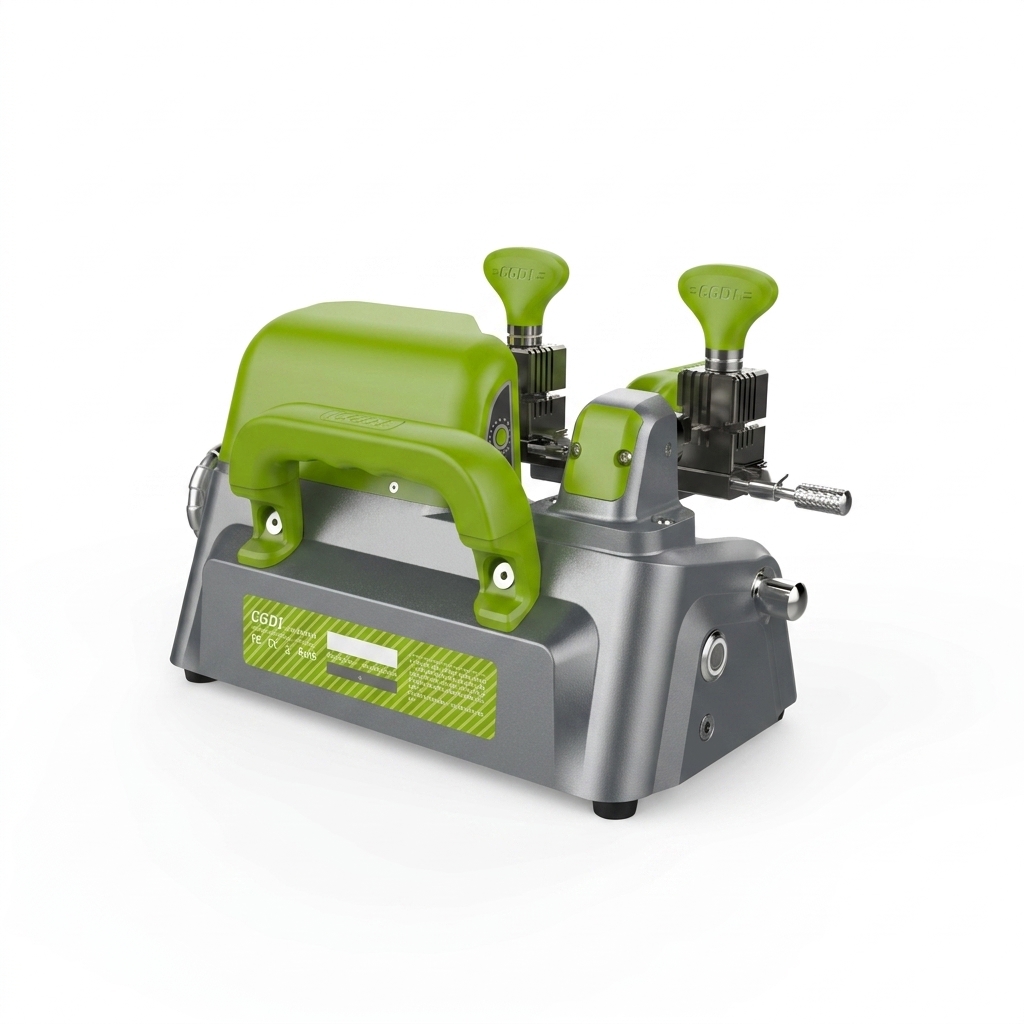
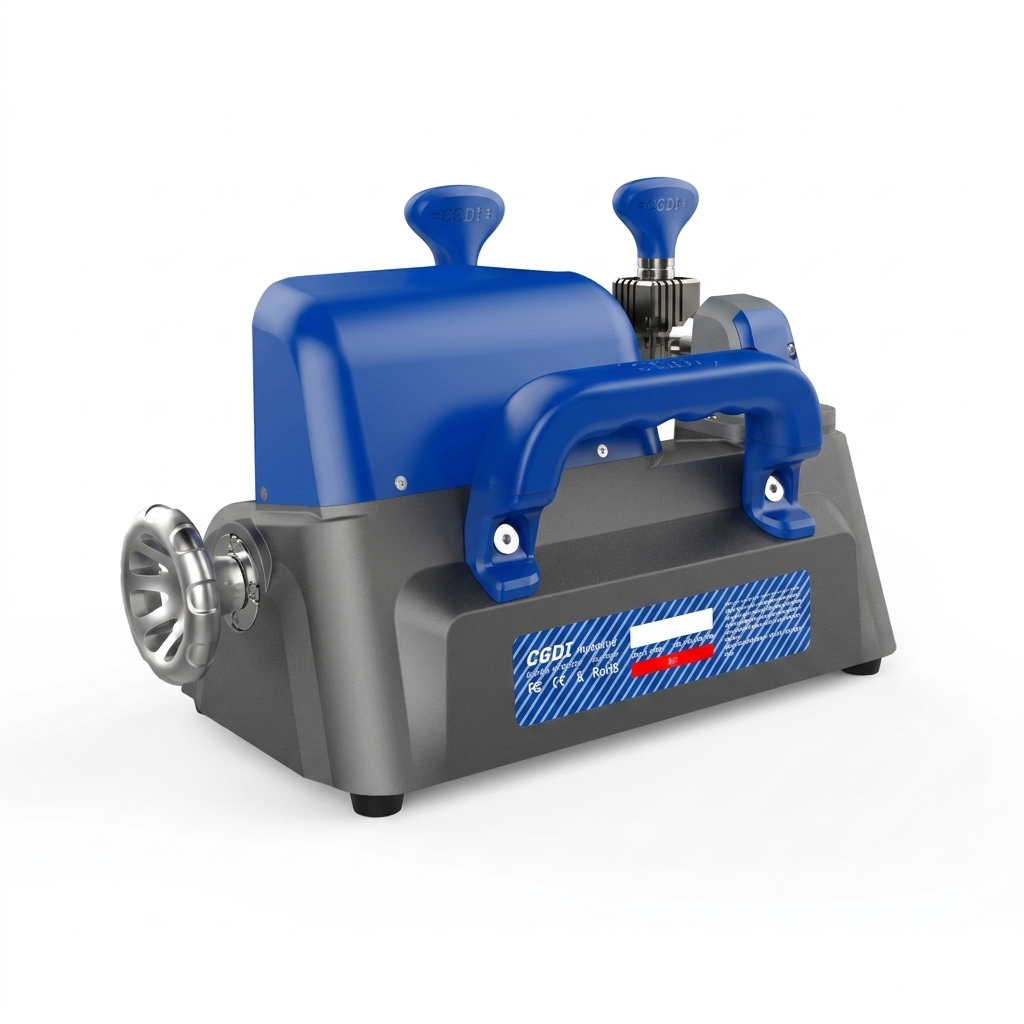
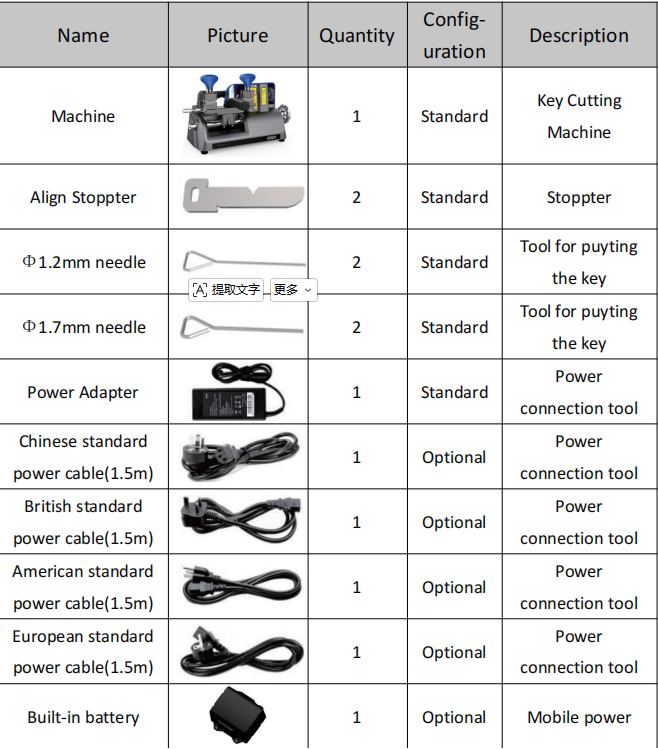
The machine has the following features:
1.Modern, minimalist design with smooth lines
2.Integrated full-aluminum unibody, strong and durable
3.Compact and lightweight for easy portability
4.Ergonomic design with intuitive operation
5.Adjustable guide system for precise cutting
6.Cutting and polishing in one step
7.Built-in high-performance lithium battery for long runtime(Optional)
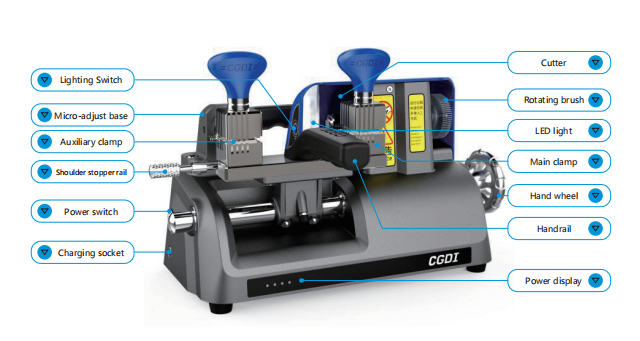
Main parts and function declaration
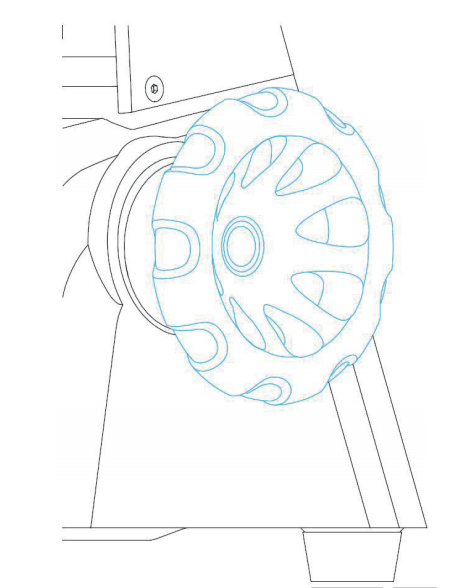
1 Hand Wheel
2 Sliding platform
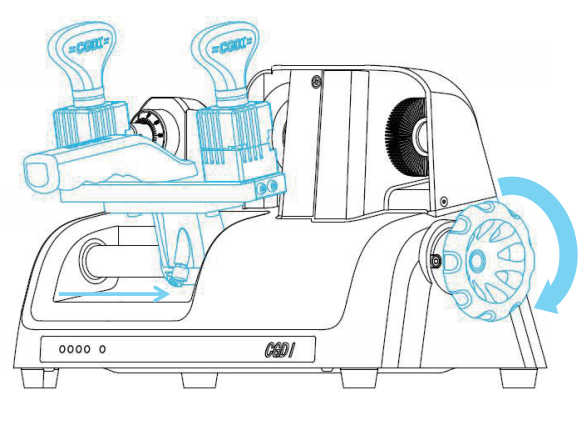
The clamp sliding platform can be rotated about the axis of rotation and moved axially
to achieve lateral and longitudinal feed of the key. The operation method is as follows:
1. Lateral feed : Rotating the hand wheel to realize the lateral feed of the sliding
platform.
2. Longitudinal feed:Holding the handrail and rotating around the axis to realize the
key longitudinal feed.
Key dimension parameters:
3. The sliding platform has a lateral stroke of 70mm
4. The clamp spacing is 95mm
3 Micro-adjust slide
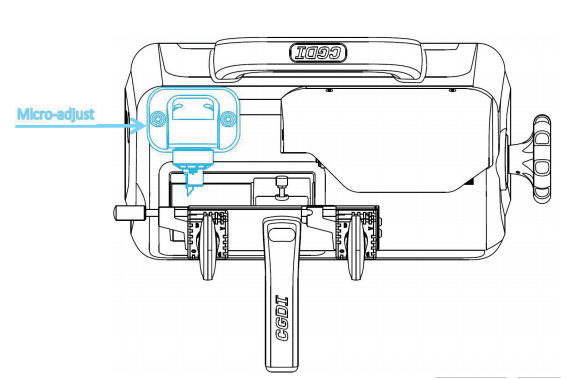
This product's fine-tuning slide is equipped with a high-precision contour probe. During
cutting, this probe conforms to the original key tooth trajectory, synchronously guiding
the cutter head to track and cut the key blank, thus achieving precise replication of the
tooth shape.
The fine-tuning slide and contour probe have been precisely calibrated before leaving
the factory. If calibration is required or deviations occur due to operation, please adjust
according to the steps described in Section 3.1 of this instruction manual.
4 Clamp
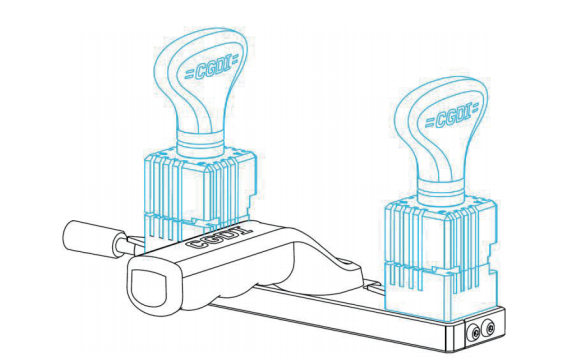
There are four-sided (A, B, C, D) that can be used to copy different key types. Please
follow these steps during operation:
1. Select the right side: Based on the type of the original key, rotate the same side on
both the main and auxiliary clamps (e.g., use side "A" for both).
2. Correctly place the key:
. The left auxiliary clamp is used to hold the original key.
. The right main clamp is used to hold the key blank.
3. Clamp and secure: Before processing, be sure to tighten the clamping knobs to
ensure that both the original key and the key blank are firmly clamped and not
loose.
Please note that different side correspond to specific key types. Please refer to Section
4.1 of this instruction manual for selection.
5 Power parts
To meet the needs of different customers, the built-in battery of this product can be
selected according to requirements.
Battery-included version:
1. Battery version:
. Plug the 12V DC power cord into the charging socket on the side of the machine.
. Plug the AC power adapter into a grounded safety outlet.
2. Power display:
. A battery level indicator light is located on the front of the machine. When the
indicator light shows low battery, please charge the device promptly.
. When the power is full, please disconnect the power cord in time.
3. Charging Time:
. Under normal conditions, a full charge takes approximately 3-4 hours.
Without battery version :
. Plug the 12V DC power cord into the charging socket on the side of the machine.
. Plug the AC power adapter into a grounded safety outlet.