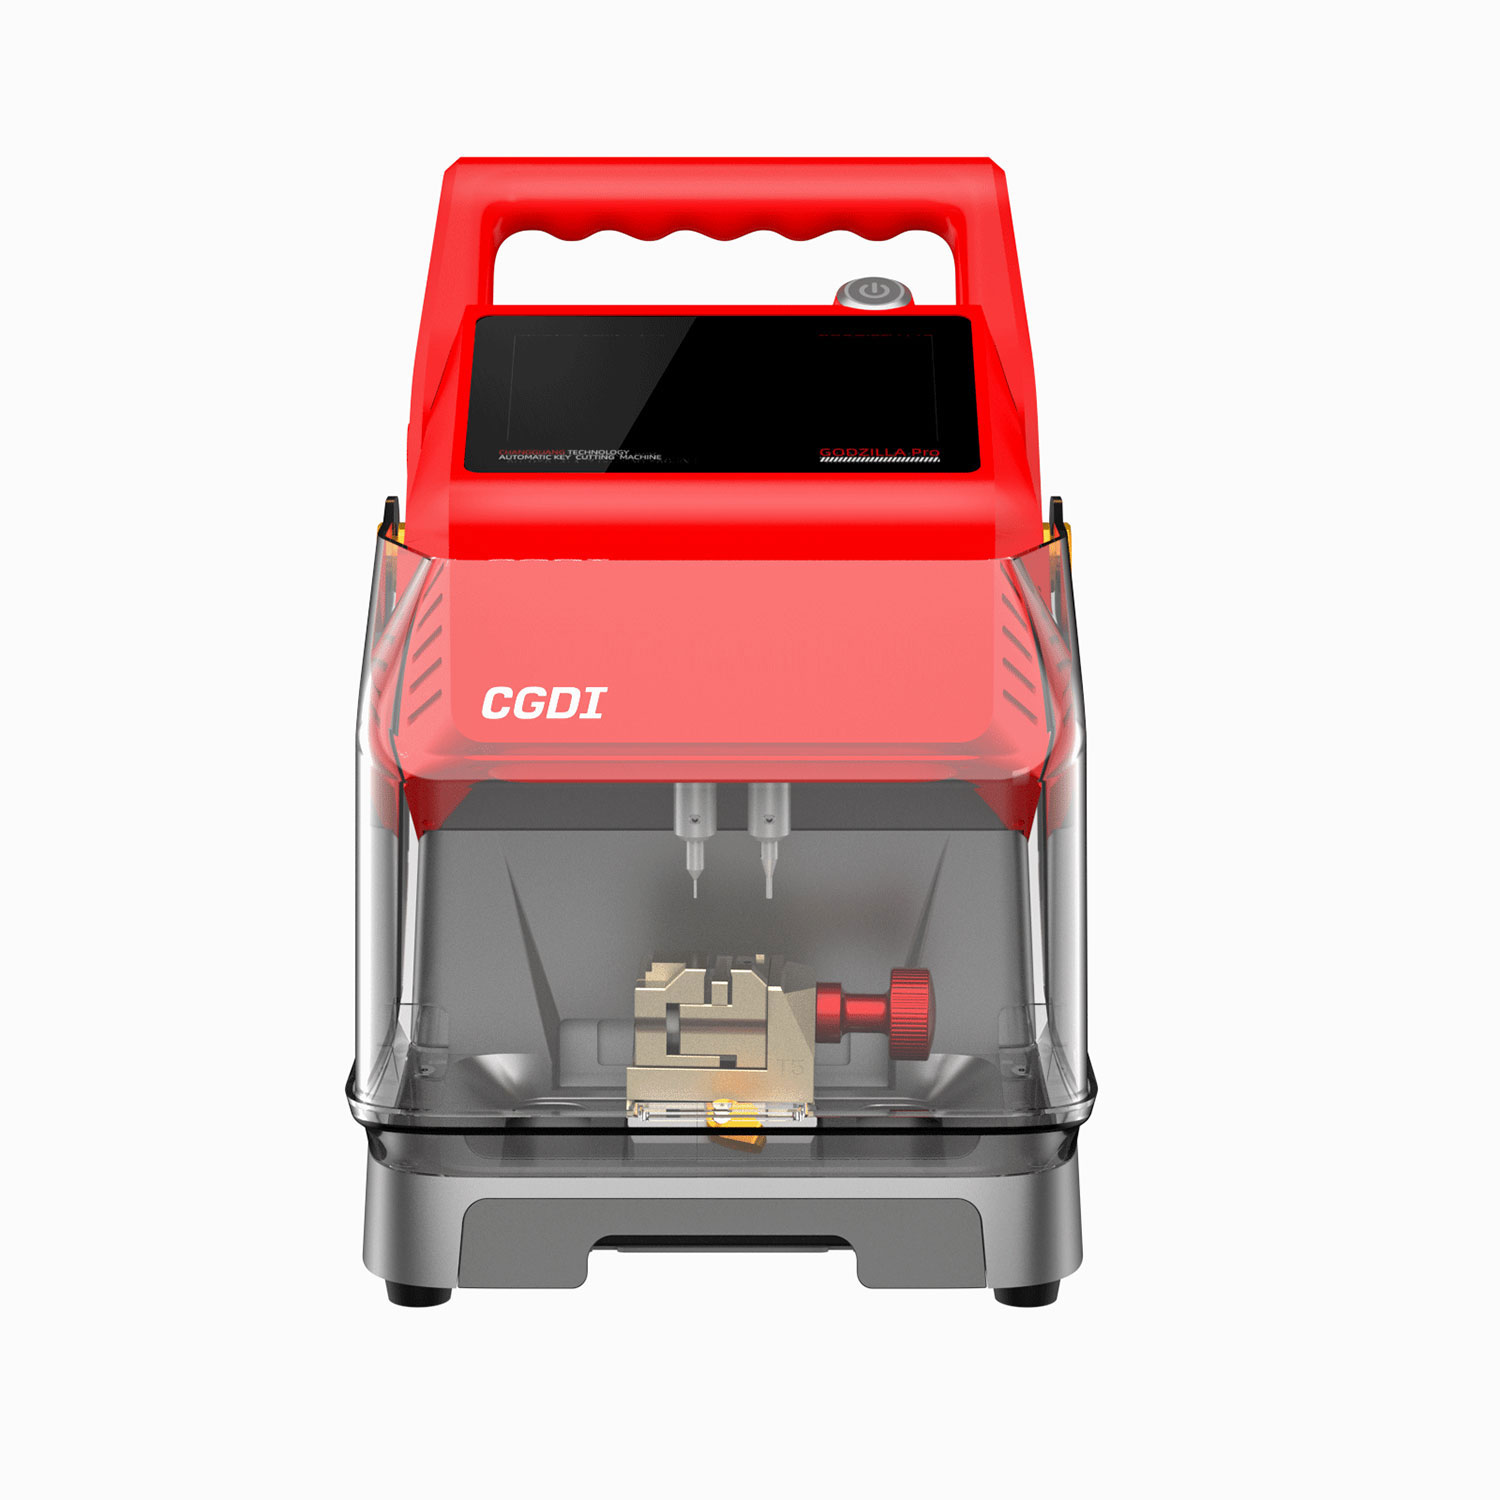
Key Features:
1.New double-sided T5 fixture, fully compatible with all functions supported by the T1 and T2 fixtures.
2.Supports non-conductive keys, including aluminum keys and plastic keys.
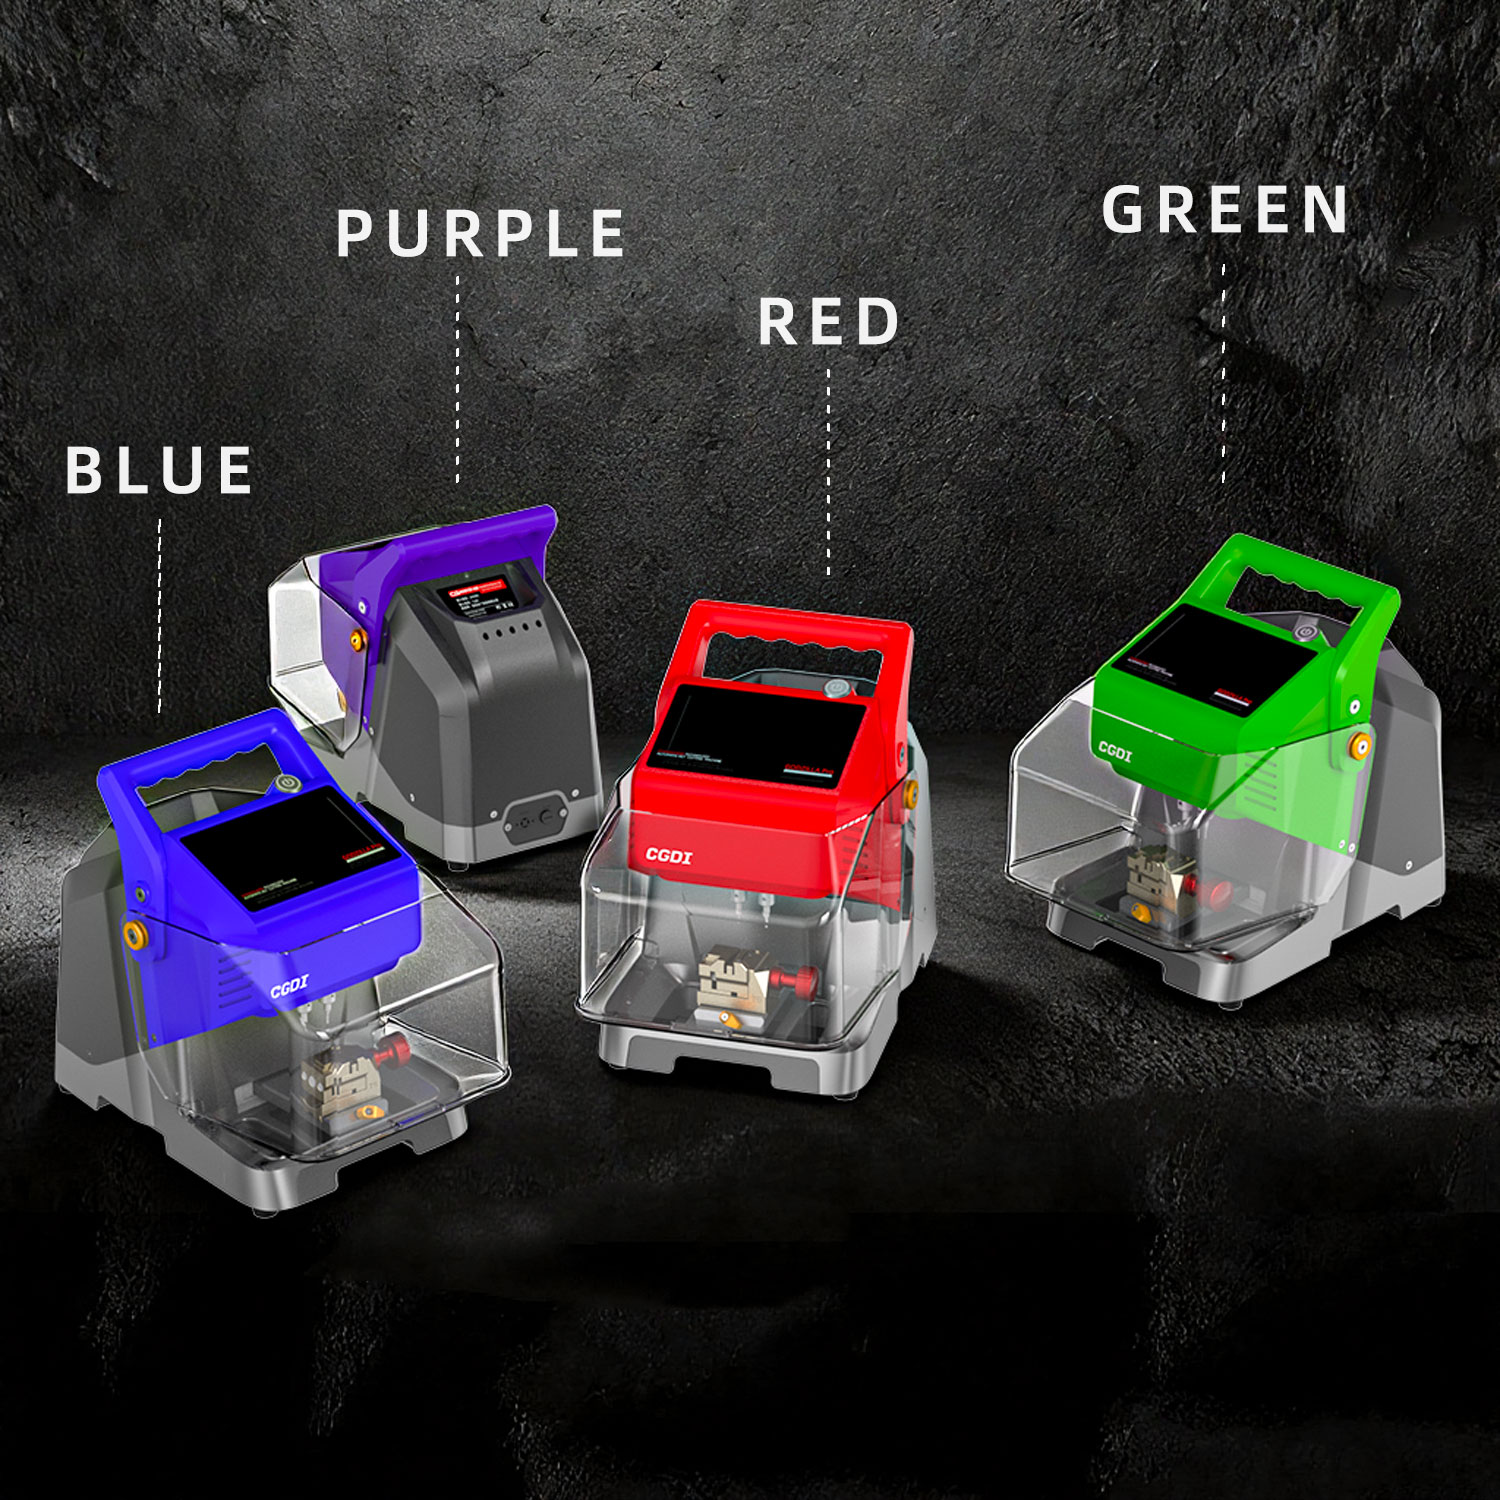
3.Built-in rechargeable battery, all-aluminum body construction, and a compact, lightweight design for enhanced portability.
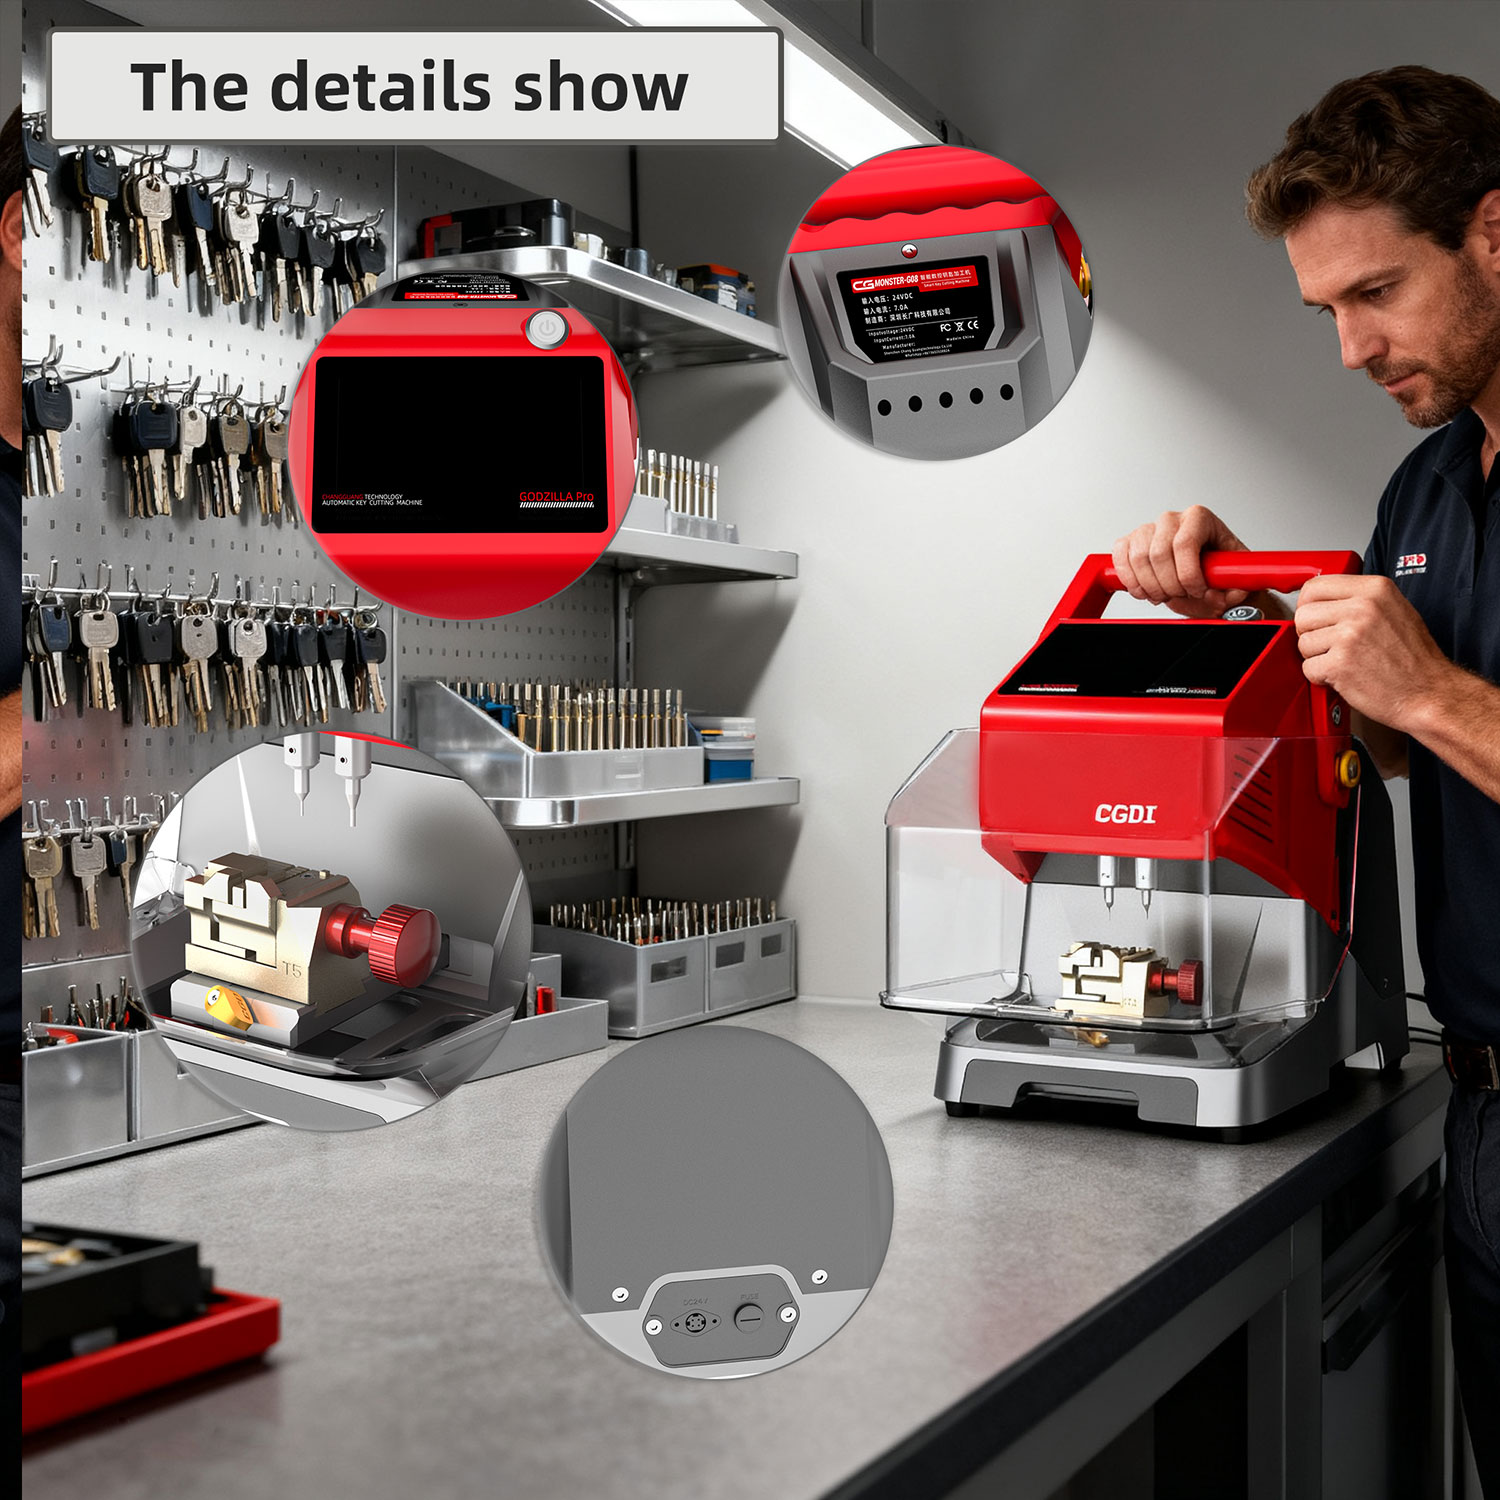
4.Features a 7-inch capacitive touchscreen and a 1024 × 600 IPS display for clear visuals and easy operation.
5.Built-in accurate database with detailed parameters and clear key illustrations, covering over 60 global brands, 2,000 vehicle models, and more than 20,000 keys.
6.Includes three powerful functions for all-keys-lost.
7.Supports special functions such as Find Bitting, Micro-Set, Secondary Processing, and VW HU162T 9-bit / 10-bit key operations.
8.Supports multiple languages.

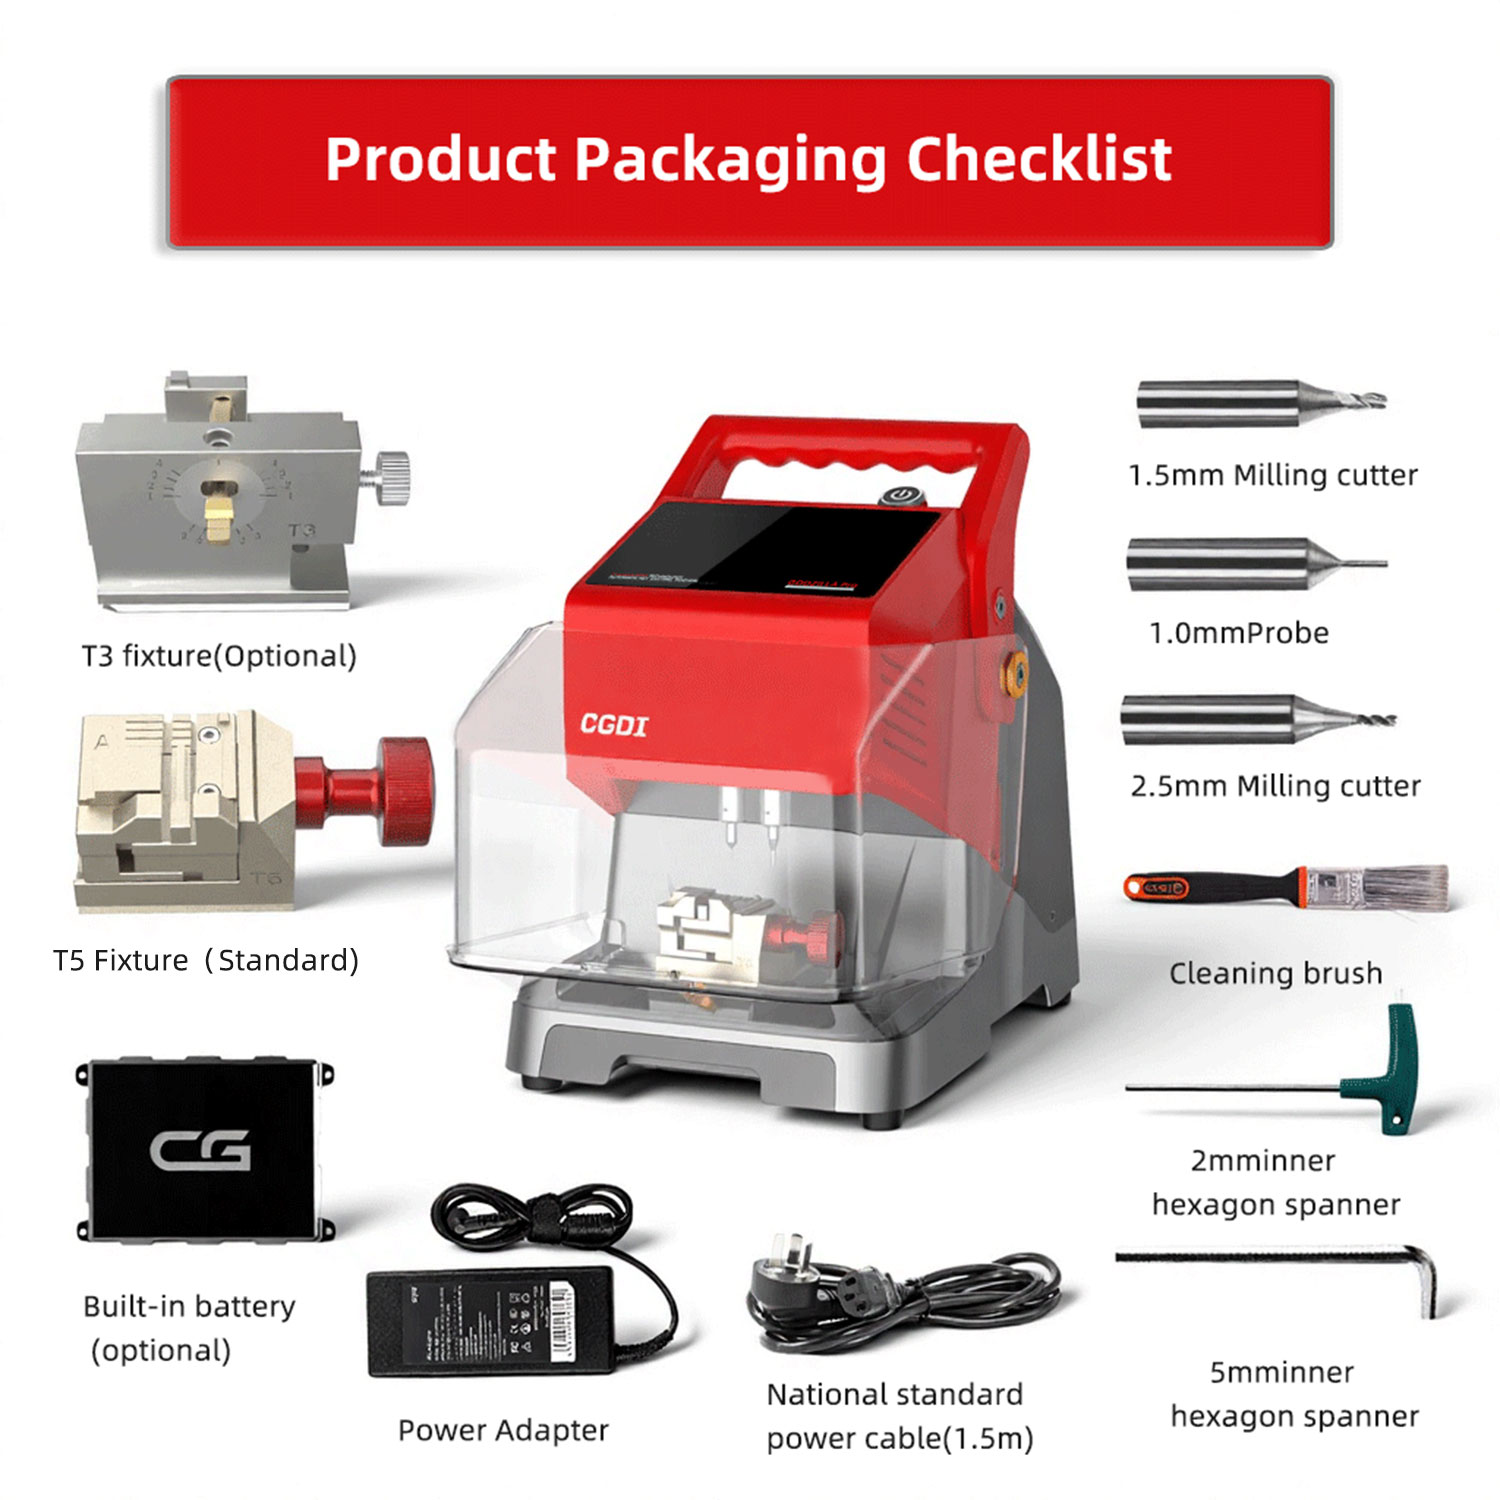
Remover transport bracket steps:
Step 1: As shown on the left side of the picture below, use a 2.5mm hexagonal spanner to turn the screw counterclockwise to remove it.
Step 2: As shown on the right side of the picture below, use a 5.0mm hexagonal spanner to turn the screw on the top of the transport bracket counterclockwise untilit is removed.
Step 3: Use the 5mm hexagonal spanner to turn the screw on the top of the transport bracket counterclockwise until it is removed. Finally, remove the transport bracket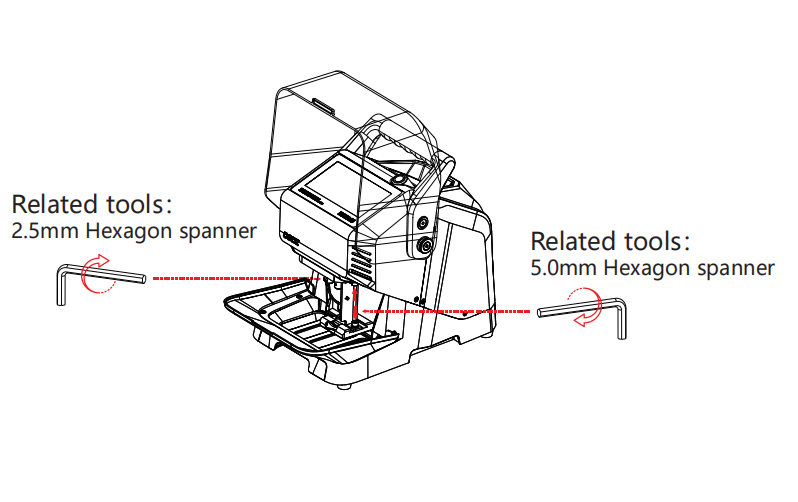
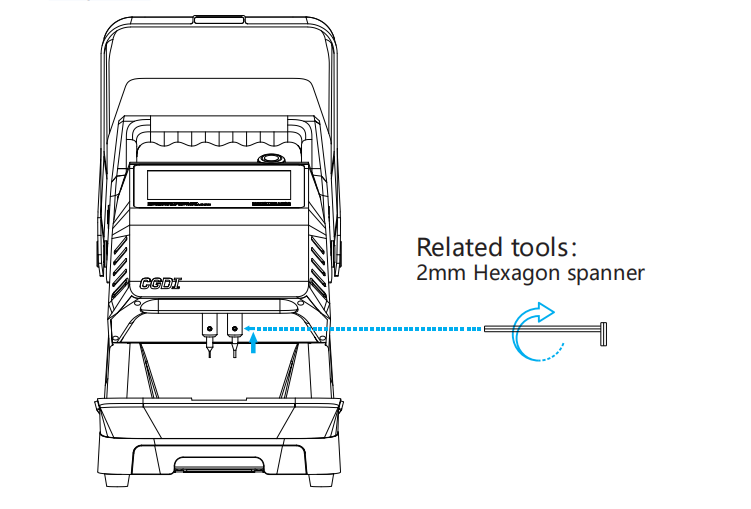
Milling cutter and probe installation steps:
As shown in the picture: First, rotate the "milling cutter locking screw"counterclockwise. Then insert the milling cutter into the cutter installation hole and push it upward until it reaches the limit position. Next, move it downward by a certain distance (2-5 mm). Finally,rotate the "milling cutter locking screw" clockwise until the milling
cutter is securely locked in place.
(2)Please refer to the steps for installation the milling cutter to install the probe.
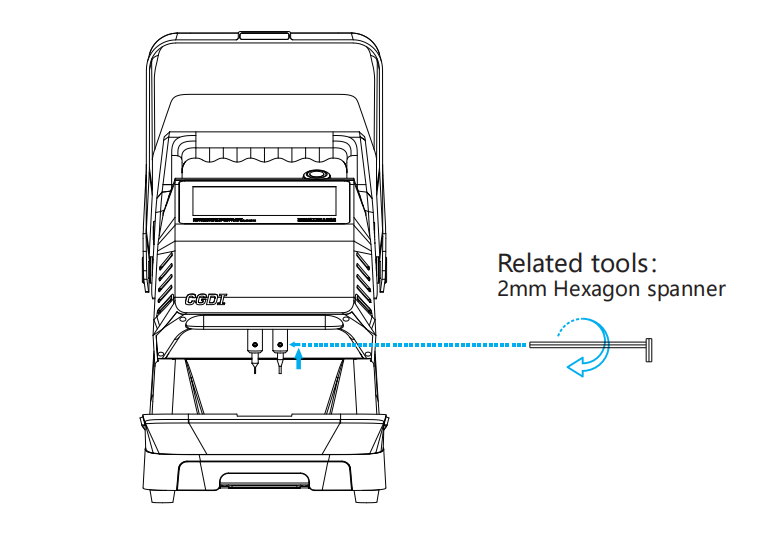
Disassembly steps of milling cutter and probe:
(1) As shown in the picture, counterclockwise turn the "millingcutter/probe top tightening screw until the milling tool orprobe is loosened, and then remove it.
For more operation procedures, please contact our official customer service!